Intro
One of the most popular offerings at Abenity is selling tickets to theme parks and attractions. COVID hit this part of the business pretty hard as so many places had to close down temporarily to try to stay safe. As things began to reopen, many companies would put a maximum capacity on how many tickets they would sell for entry to the park. Our store was not set up to accommodate this new requirement in a new world. Our challenge was to find a way, both technically and in the interface, to make this new functionality make sense in a cohesive way.
Goals
The main goal on this project was to introduce a new type of item to the store, based on the paradigm of booking it like a reservation, sort of like you would at a hotel or restaurant. All items in our store before were very simple; you set a quantity and added the item to your cart. This new type of item, however, would require a whole new flow for choosing a specific date and time, as well as tracking how long that spot was available. You can’t have someone paying for a spot that is no longer valid!
A New Type of Item
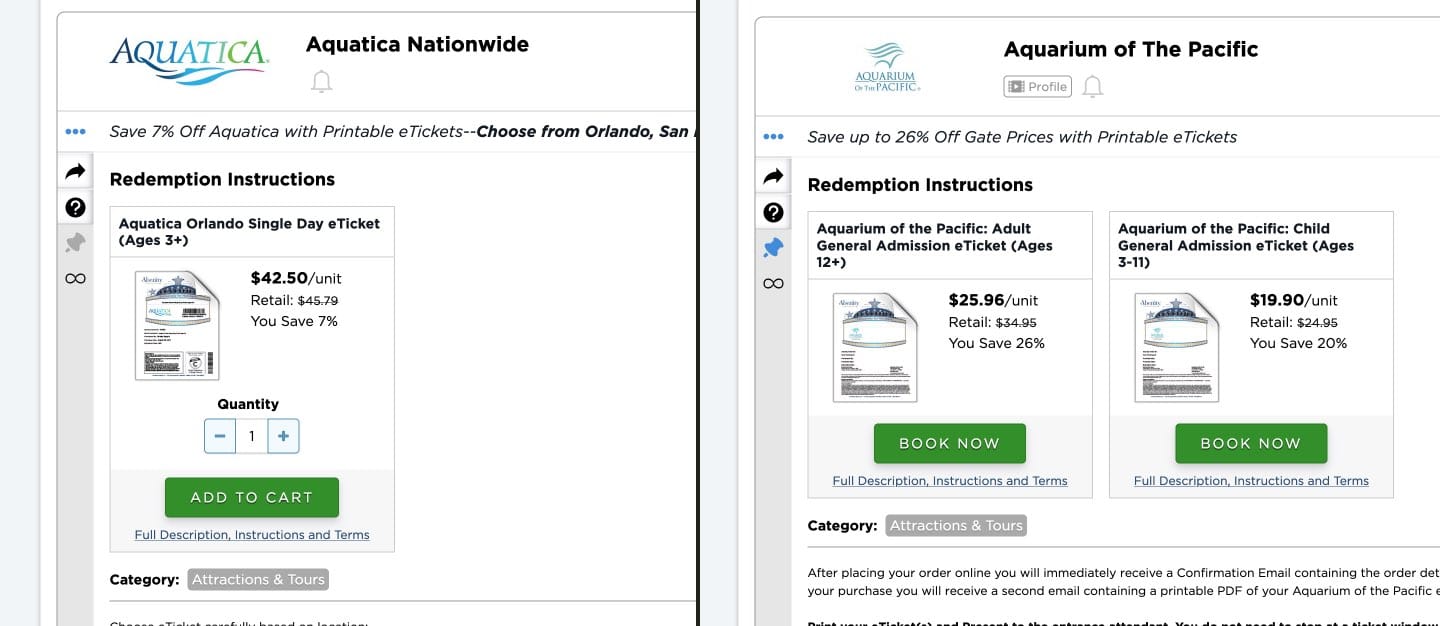
The first part of the solution involved how to set capacity managed items apart and enable the new flow with choosing a date and time. I decided that first I would distinguish which items were capacity managed and which were our standard items through the verbiage on the button. Capacity managed items would say “Book Now” as opposed to “Add to Cart”. From there I would introduce an interstitial view in a modal to choose a date and time, and then add it to the cart. This introduced the need for one of my favorite parts of this project, creating a date picker.
Maybe I just haven’t found the right one, but I hate all the date pickers that I have ever used. You always run into some strange issue with injected styles or weird timezone or date formatting. I really just wanted something simple: pick a date and spit it out in the format the database needs. Because of this I decided to create my own Calendar widget component in Vue. What is interesting with a lot of self-contained widgets like this is that once you break down the problem into what you really need to pull it off… it’s usually fairly straightforward to build. I was concerned that it would take a lot of time to make this, but really it went quickly. You go to the month you want, choose the date you want, and this sends the date to an endpoint that returns the available tickets for that day. Nice and easy.

Custom Data Store
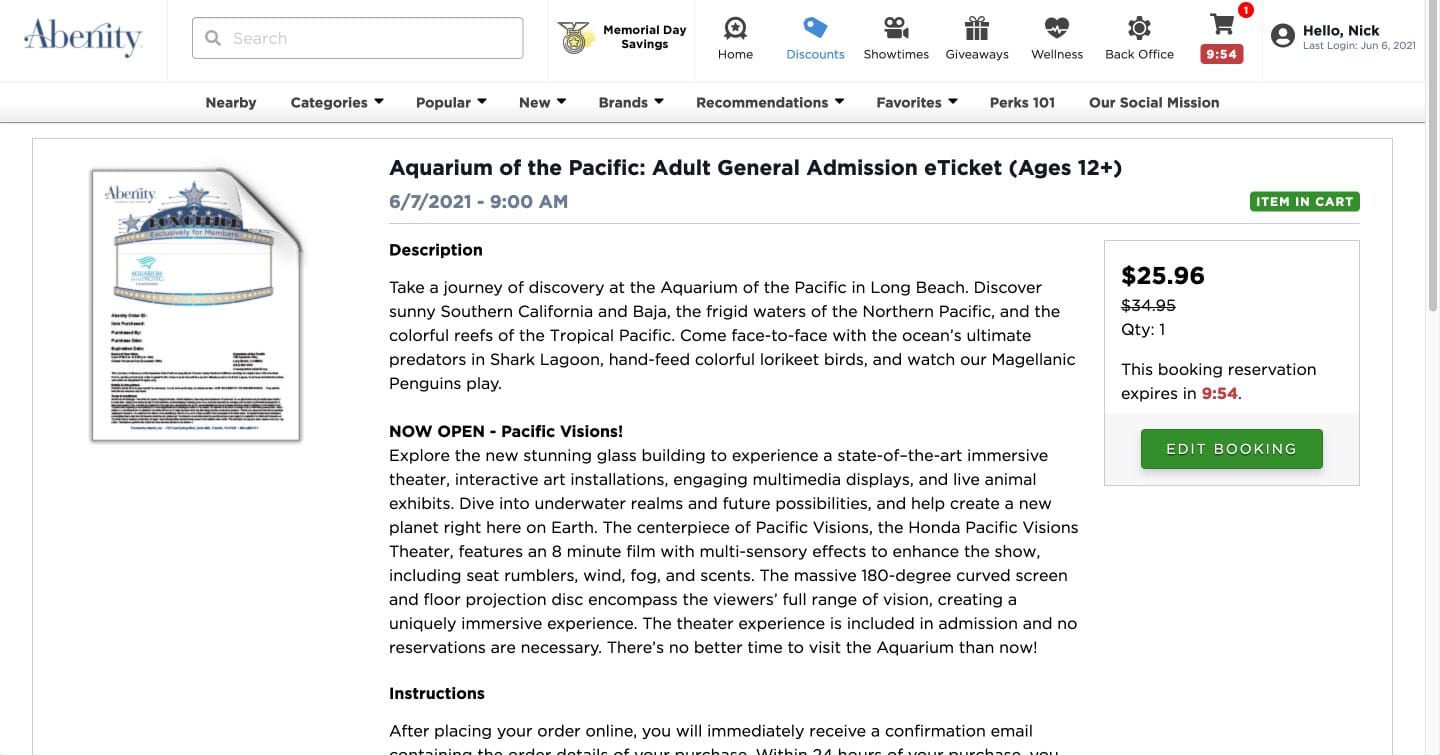
The next big piece of functionality was tracking how long the ticket for the selected date and time is valid. I was given a requirement of displaying a countdown timer in several places. One would live on the controls you used to add the item itself, one would be with the cart button in our main header, and one would be on the item in our Order Summary table in the checkout flow.
Vue is used in a somewhat unique way in our app. Rather than everything being built in Vue we use it sparingly, utilizing its most basic build on more complex components that warrant some kind of state management and data reactivity. These are implemented as separate instances of Vue, attached to certain DOM elements on the page. This introduced a problem in this case, however. I now had to keep a timer in sync on up to three different components on a single page, and I really didn’t want to add the weight and complexity of Vuex.
That’s when I discovered Vue.observable. This is what powers the reactivity of the data object in a basic Vue component. For what I needed in this scenario it was a perfect fit. I made a simple data store file, wrapping the properties I needed to be reactive with Vue.observable. Then I imported it into the components where I needed the data in sync, and it worked like a charm.
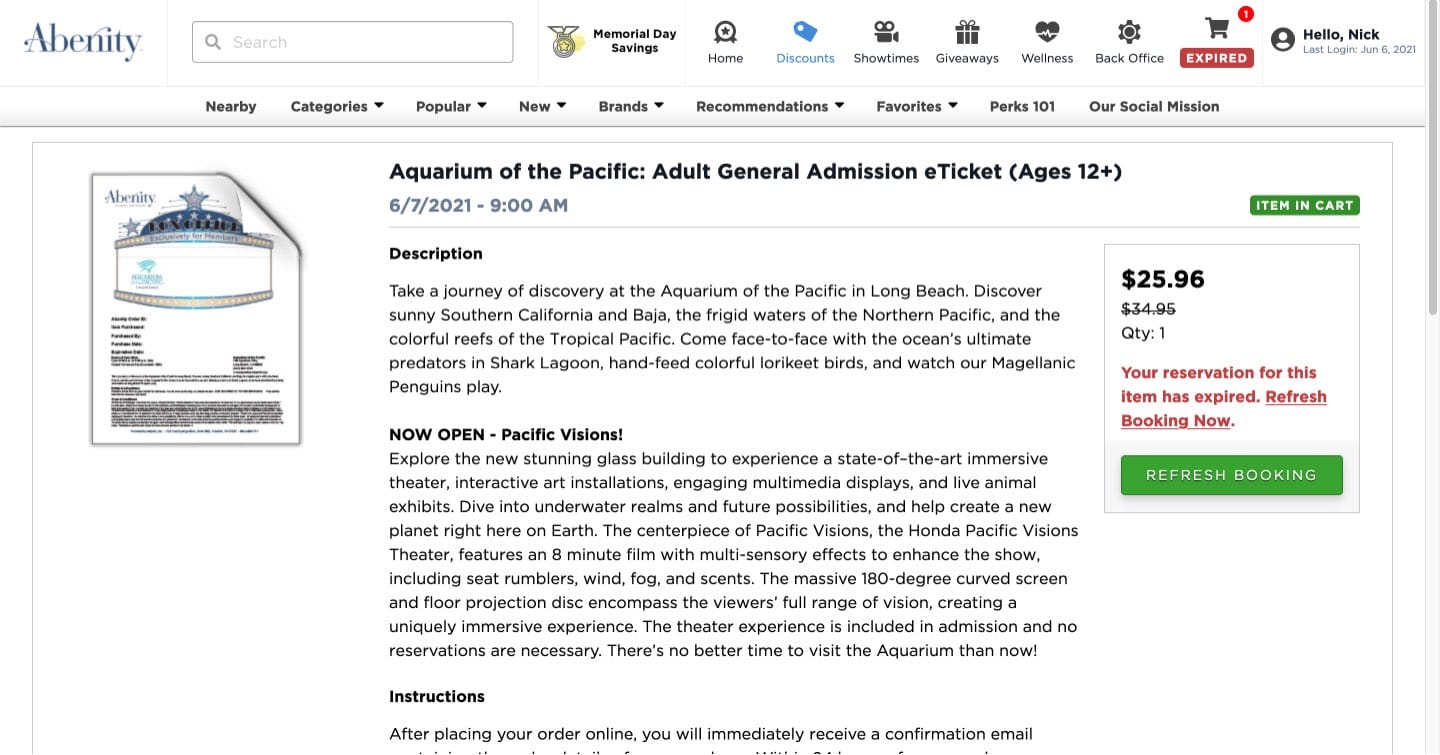
Finally, when the timer hits zero, I introduced a “refresh” state. A button with simple instructions underneath appears, so you can quickly check to see if your desired time is still available. If it is, you get a fresh timer and carry on with your shopping. If it isn’t, you are presented with the date picker modal again and a message explaining that tickets are sold and you’ll have to find a new time.
Conclusion
A project like this is fun for me for a number of reasons. It introduced new coding challenges in building the calendar and figuring out the leanest way to keep the data in sync. This project also involved re-evaluating an existing system and finding a clever and effective way to extend it and make it even more powerful. I enjoy having to think through how to grow the UI, walking the careful line of staying within an existing system, but also creating something entirely new. Finally, it met a new business challenge and opened the door to selling this new type of item, which is beneficial for our users and for our business.